
Soularium
Solarium
Update: 2024 This structure is being replaced with a larger rectangular shade structure.
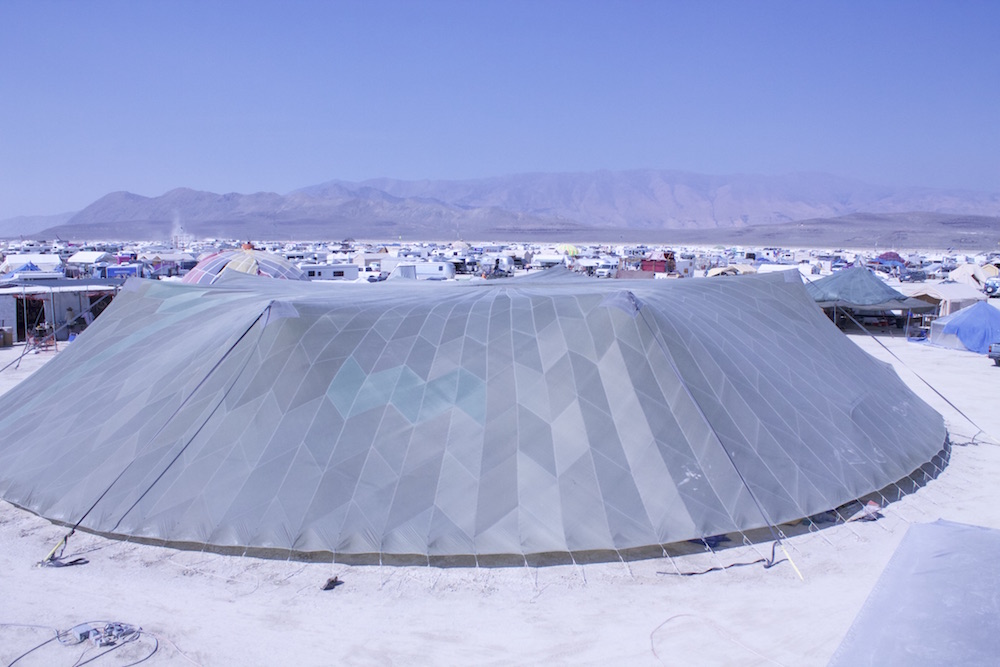
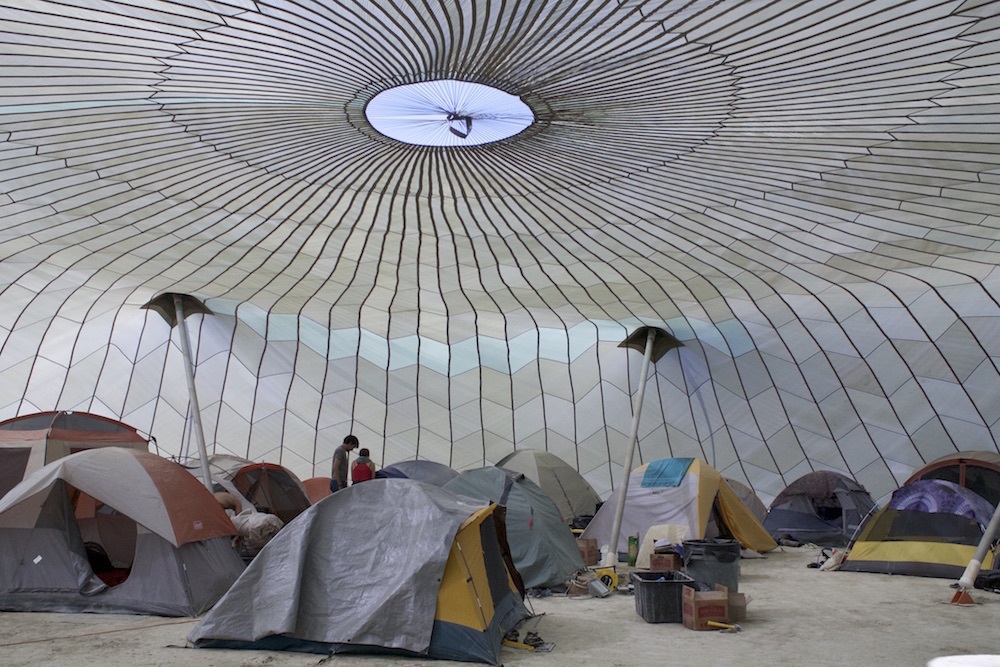
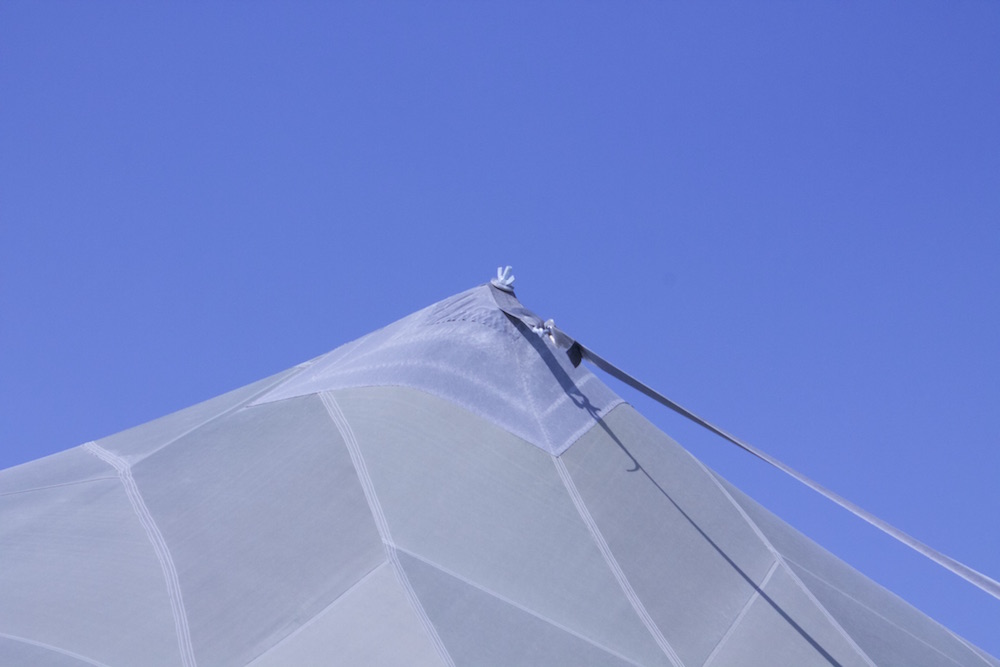
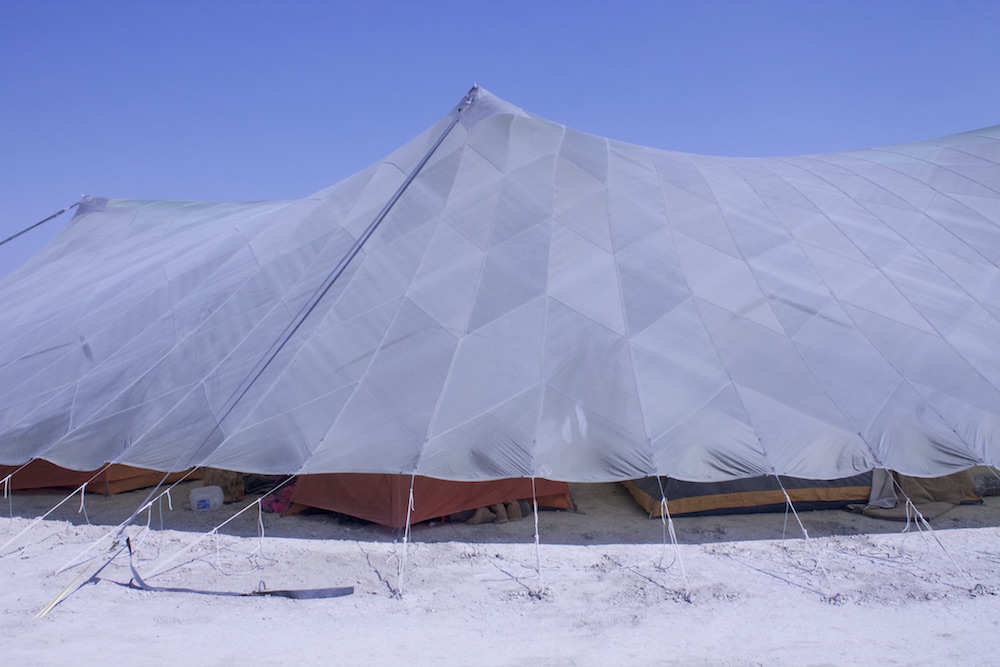
The Solarium is a 100' diameter shade structure that we use to provide wind and sun protection for all our dormitory tents. It is constructed of a specially modified parachute and 8 interior poles. The height of the interior ceiling is about 15'
The first step in erecting this structure is layout. A concrete stake is placed in the center of the structure's footprint. A special guide rope is looped over the stake and a circle is etched into the playa at the 50' mark indicated on the guide rope with black ink.This creates a 100' diameter circle. A crew then places a ring of 120 playa staples, equally spaced, over this etched line. This is done with a second guide string. The first playa staple is set. The guide string is clipped onto the staple and then other staples are placed at each of the successive marks on the string. The string always runs through the center of the placed staples. When you come to the end of the string, you unclip it and move it to your last staple and continue. Repeat until all 120 staples have been placed (images to follow)
Once placement of the playa staples has been begun, a second crew can begin placing flags for the interior pole bases, and the exterior circus stakes. There are 8 interior poles set exactly 22.5° apart, and 17' from the center stake. Begin by locating the desired door opening. The doorway is about 12' wide and there will be a circus stake about 17' on either side of the door opening. This should allow you to determine the placement of the first stake. Use a survey flag to mark that location. Exterior circus stakes are placed 51' from the center stake. Site across the circle to place a flag for the exact opposite stake. Using two 150' tapes, triangulate the location of the stake 90° from this one. Site across the circle to place its opposite. Triangulate between 2 adjacent stakes to place the last 4 stakes. Using the guide string, and siting from the center stake to the outer stake flags, place pole base flags at the 17' mark indicated on the guide string. A diagram for this would help. I can mostly visualize this, but there are a lot of stakes...
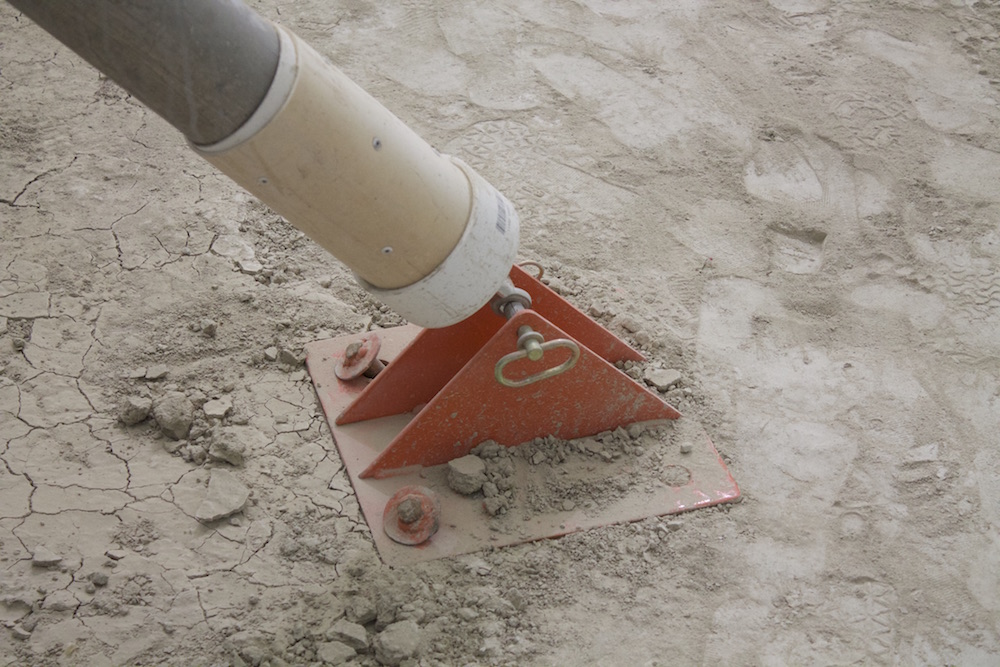
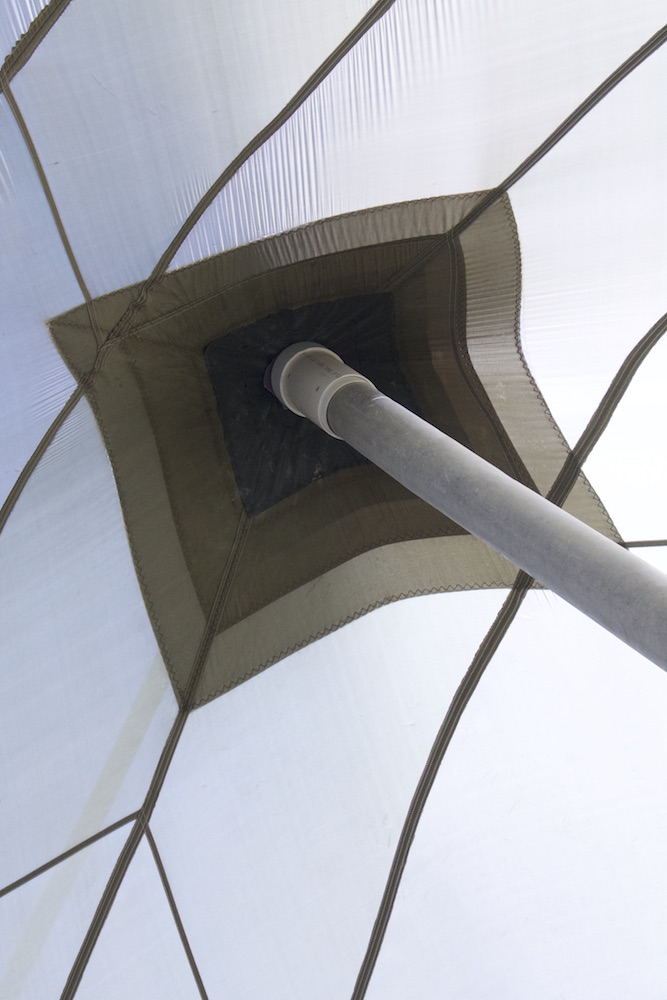
Pull the center stake (out of the ground yes?) and bring the parachute to center of the layout. Spread it out so that you can determine that the up side is up. The upside will have loops for straps. Make sure that there is a 2" webbing strap shackle to each loop. While one crew is arranging poles, another crew is driving in circus stakes at each of the stake flags. Leave about 6" of stake showing. Bring 8 poles into position with the threaded stud pointing towards the center. Attach an orange pole base to each pole. Be certain that there is a spacer on each side of the ball end clevis. Put the threaded end of the pole under the chute and through the large grommet. Make sure there is a large washer on either side of the grommet and loosely secure the nut. Position 2 concrete stakes near each pole base flag. Using a larks head knot, attach a ratchet to each circus stake.
Using zip ties, affix a 24" fan to the center opening of the chute. Run a 100' extension cord over the top of the chute and zip tie the end near the fan. The final electrical connection will involve a thermostat and will be done later.
Once all the pole tops are secured, pole bases assembled, and ratchets affixed, get 8 people to slowly pull on the webbing straps to raise the structure. There will also need to be helpers inside to lift poles and secure pole bases. once all the webbing straps have been initially secured, push pole bases into their final positions. Stake bases down using concrete stakes. Be sure to put a length of chain under the head of each stake to make them easier to pull. Go around the structure and sequentially tighten the ratchets to about 90% of their final adjustment. Sequential rather than opposing like lug nuts on a tire? It is necessary to leave some slack so the the entirety of the structure can jellyfish around in response the the tightening of the outer guy lines.
Exactly opposite the doorway, trace the gore seam down from the top of one of the poles and attach that guy line to the playa staple that is directly in front of that circus stake using a taught line hitch. Working with 2 teams of 2, move around the hem of the chute in opposite directions from this one staple. Each team of 2 is leap frogging with each other, never getting too far ahead. It is miserable to have to untie and retie guy lines because a staple was missed.
Once all the guy lines have been tied on, begin tensioning them to create the final shape of the structure. Be careful to not get too tight on one side first. Look at the height of the hem off the playa. It should be even all the way around. Once guy lines are 90% taught, stake out the door opening and bring the straps to 100% tight. Go around and readjust the guy lines as necessary.